How to download Microsoft Project? In the tech-savvy world today, access to the right software is essential for successful project management. Many people and businesses depend on Microsoft Project for its features and user-friendly interface. But, if you’re a Mac user, can you still download Microsoft Project? Here, let’s explore how to get Microsoft Project on Mac and make the most of this powerful tool.
Microsoft Project was created mainly for Windows systems. Yet, you can run Windows applications on your Mac with virtualization software or dual booting with Boot Camp. Doing this will give you access to different Windows programs, including Microsoft Project.
One way is to use virtualization software, like Parallels Desktop or VMware Fusion. This creates a virtual environment on your Mac, where you can install and use Windows applications easily. This includes downloading and setting up Microsoft Project just like it’s done on a Windows computer.
How to download Microsoft Project?
Microsoft Project is a great project management tool to streamline your workflow and stay organized. Here’s how to download and utilize it for success.
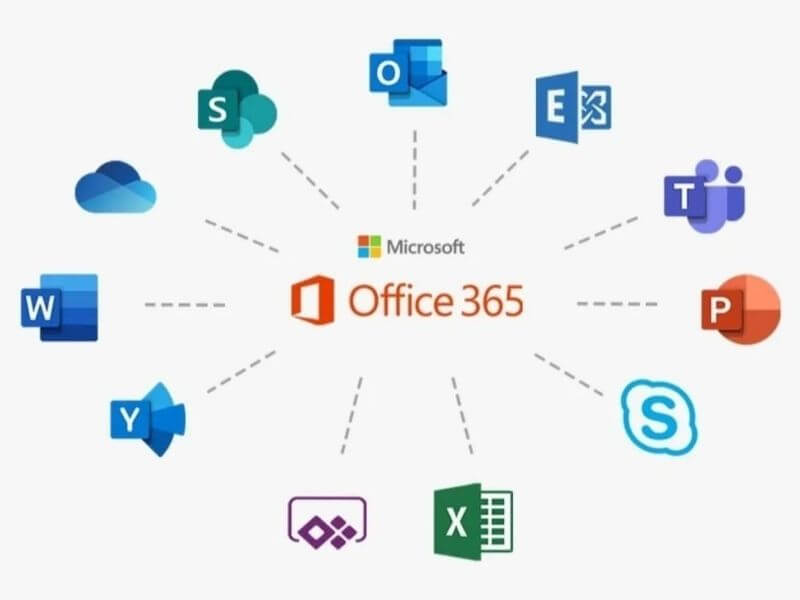
- First, you’ll need an Office 365 subscription. Log in, navigate to the Microsoft 365 admin center. Select “Software” then choose “Apps & devices”. Scroll down until you come to “Project” and click “Install”. Follow the prompts to complete the installation.
- Microsoft Project stands out from other project management tools due to its integration with other Microsoft applications such as Excel and Outlook. This allows easy data sharing and collaboration between team members.
- It also offers robust reporting capabilities for comprehensive charts, graphs, and reports. These can be tailored to your specific needs and shared with stakeholders.
- To get the most from Microsoft Project, these are our tips:
- Understand the features and functionalities of the product.
- Set up clear objectives and milestones before diving into a project.
- Utilize the collaboration tools to communicate with others and assign tasks.
- Monitor progress regularly using the reporting tools.
By following these suggestions, you can make the most of Microsoft Project and manage your projects with ease. It’s not just about downloading the software, but using it effectively that will boost success. So, take time to explore, learn, and adapt to fit your needs.

Understanding Microsoft Project
Microsoft Project is an awesome software that helps project managers to plan, execute and control tasks. It has a user-friendly interface and awesome features. Plus, it makes resource management, timeline tracking and budgeting easier. From scheduling to tracking progress, it offers a full view of projects.
Project managers can use Microsoft Project to create detailed plans with clear task dependencies and resource allocations. This helps them spot potential issues or risks in advance and make changes. Also, it offers advanced reporting features that help stakeholders stay up-to-date.
Moreover, it integrates with other Microsoft Office applications like Excel and SharePoint. This helps teams share documents, update task statuses in real-time and simplify communication.
Plus, there are pre-designed templates tailored to different industries and project types. From construction projects to software development initiatives, you can modify these templates according to your needs and save time.
In addition to features, Microsoft Project has great customer support. You can access the official Microsoft website and find a knowledge base and user forums.
Overall, understanding Microsoft Project is essential for successful project management. It’s user-friendly, customizable and integrates easily with other applications.
System Requirements for Microsoft Project on Mac
Jane, a project manager, was thrilled! She could now download Microsoft Project on her Mac. But, there were system requirements to meet first. These would ensure the software ran smoothly, with optimal performance.
Firstly, the Mac should have an operating system that’s compatible with Microsoft Project. Such as: macOS Mojave (version 10.14), macOS High Sierra (version 10.13), or macOS Sierra (version 10.12).
Secondly, at least 4GB RAM was needed. This would enable efficient multitasking while using the software. More RAM capacity? Even smoother performance!
Thirdly, 6GB of available hard disk space was needed. This would provide enough storage for the software and any associated data.
Finally, the Mac must have an Intel core i5 or higher processor. That way, Microsoft Project would run seamlessly and without lagging or delays.
Downloading Microsoft Project from the Official Website
Getting Microsoft Project straight from the Official Website is a piece of cake! Here’s how:
- Go to Microsoft’s website with your browser.
- Search for ‘Microsoft Project‘ or look for it under ‘Products’ or ‘Software’.
- Pick the version that fits you and click ‘Download.’
- Remember, you need a valid license or subscription.
Downloading Microsoft Project from their official website is the safest choice. Microsoft ensures secure downloading and installation of their software. Plus, you can be sure to get the latest version with no hassles. Get this powerful project management tool to take care of all your biz needs!
Common Issues and Troubleshooting
If you face issues while downloading Microsoft Project, solutions are available to help. Errors during download can be annoying. To fix this, check your internet connection is stable. Disable antivirus if needed. Clear your browser cache and cookies.
Compatibility problems? Ensure your system meets the minimum requirements. Check if your OS is up to date. Also, make sure you have enough storage space.
Forgotten to access Microsoft Project after buying a subscription? Check if your license includes it. Some subscriptions only offer access to certain Office applications.
When installing, follow instructions from Microsoft. Double-check all info is correct. Use a legitimate source for the download.
Fun Fact: As of 2020, Microsoft Office had over 1.3 billion users worldwide. It is one of the most used productivity suites in the world.
Conclusion
Let’s tie up our lesson on downloading Microsoft Project. We’ve gone over the steps to get this project management tool from Office 365. Now, let’s summarize and give some extra advice.
In a nutshell, downloading Microsoft Project is a simple process. By using the steps we mentioned, you can quickly access this software and take advantage of its powerful features.
To get an even better experience, here are some tips:
- Make sure your internet connection is strong. Weak or unstable connections could lead to interruptions or incomplete downloads. Try a wired connection or move closer to your Wi-Fi router.
- Clear your browser cache before the download. This could prevent conflicts or outdated data which could block the installation.
- Temporarily shut off any antivirus or security software that might interfere with the download. Once it’s done, turn them back on for system protection.
- Check for updates often to make sure your Microsoft Project software is up-to-date with the newest features and bug fixes. This keeps it running well and compatible with other programs.
Above is information about How to download Microsoft Project? What is this Microsoft? that we have compiled. Hopefully, through the above content, you have a more detailed understanding of download Microsoft Project. Thank you for reading our post.